
Trimming Natural Hair at Home Without Losing Length

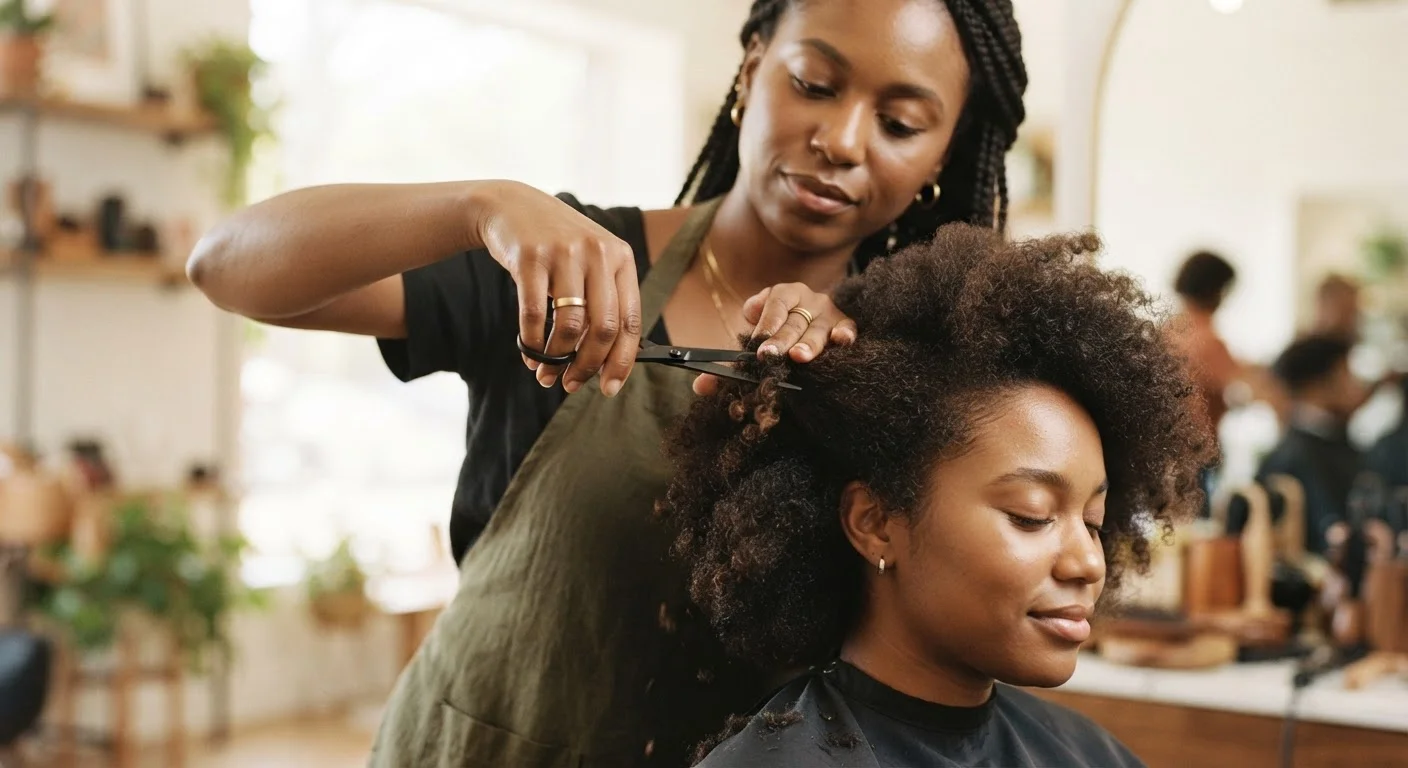
Photo: InDepthReads.com | Streamlining Learning For All editorial
Key Takeaways
- Sharp hair shears are non-negotiable — dull blades create more split ends than they remove.
- Trimming on stretched, detangled hair gives the most accurate results with least accidental length loss.
- Small, consistent trims every 8–12 weeks preserve more length than infrequent large cuts.
- Sectioning hair into four or more parts keeps the process controlled and even.
- Visible signs like single-strand knots and frayed ends are your cue that a trim is overdue.
Why Regular Trims Actually Help You Keep Length
It might feel counterintuitive to cut hair you're trying to grow, but regular trims are one of the most effective length-retention strategies for natural hair. Split ends don't heal — they travel up the hair shaft, causing more breakage the longer they're left. A small, timely trim stops that damage in its tracks.
The key phrase is small and timely. You don't need to remove significant length to maintain healthy ends. Most naturals benefit from a trim every 8 to 12 weeks, though your individual routine, protective styling habits, and use of heat will influence that cadence. Heavier manipulation and frequent heat use may call for more frequent trims; low-manipulation styles may extend the window.
Common signs that a trim is due include: visible split ends or fraying, single-strand knots that won't detangle, excessive tangling despite proper moisture, and ends that feel rough or look thinner than the rest of the strand. If you're noticing any of these, it's time.
Trim After a Wash Day
Tools, Prep, and What to Have Ready
Getting organized before you start makes the session go smoothly and reduces the temptation to rush. Lay out all your tools within reach, work in a well-lit space, and carve out enough uninterrupted time — anywhere from 30 minutes to an hour and a half depending on your hair's density and length.
What you will need
Once your tools are ready, gather your supplies and move to the prep steps below. Remember: good prep is half the work.
Hair-cutting shears
Cleanly cut the hair shaft without fraying — the single most important tool for a damage-free trim.
Wide-tooth comb
Detangles and smooths each section before trimming so you can see where the ends actually sit.
Sectioning clips
Hold unworked sections securely out of the way so you work one manageable portion at a time.
Spray bottle
Keeps hair damp and pliable throughout the session, making detangling and trimming easier.
Blow dryer with diffuser
Gently stretches curly or coily hair so you can see true length and trim more precisely.
Handheld mirror
Lets you check the back and sides of your head without guessing.
Never Use Craft or Kitchen Scissors
How to Trim: Step-by-Step
The method below works for a wide range of natural textures — from wavy to tightly coiled. The core principle is always the same: stretch, section, and trim small amounts consistently.
Wash and Detangle Your Hair Thoroughly
Start with freshly washed hair. Clean strands behave more predictably, and you'll get a truer read on the condition of your ends. Apply a generous amount of conditioner and detangle from ends to roots using your wide-tooth comb, working through any knots gently. Rinse and leave a light leave-in conditioner in for slip.
Stretch Your Hair Before Trimming
Trimming on shrunken curls leads to uneven results. Stretch your hair using one of these methods: twist-outs, braid-outs, blow-drying on low heat with a diffuser, or the tension method (gently pulling sections while blow-drying). You're aiming for elongated, defined sections — not bone-straight hair. This gives you a clear view of where the ends sit and how much to remove.
Divide Hair Into Four or More Sections
Part your hair into at least four sections — front left, front right, back left, and back right — using your rat-tail comb. Clip each section securely out of the way. If your hair is particularly thick or dense, divide each quadrant further into smaller subsections. Working systematically prevents you from trimming some areas twice and missing others entirely.
Trim Each Section in Small Subsections
Release one section and divide it into small, even subsections about one to two inches wide. Comb through each subsection, then hold it between your index and middle fingers with light tension. Look for frayed tips, fairy knots (single-strand knots), or noticeably thinner ends — these are your targets. Using your shears, snip only the damaged portion: typically ¼ inch to ½ inch is sufficient for maintenance trims. Cut straight across or at a slight angle for natural-looking ends.
Work Through Every Section Consistently
Move through each quadrant methodically, releasing one clip at a time. Try to maintain consistent tension and a similar amount of hair between your fingers throughout — this helps keep the overall shape even. Mist each subsection lightly with your spray bottle if the hair starts to dry out and lose its slip mid-session.
Check Your Work and Style as Usual
Once you've worked through all sections, shake out your hair and do a visual check. Look for any sections that seem noticeably shorter or jagged compared to others and make minor corrections. Then style your hair as you normally would — your go-to wash-and-go, twist-out, or protective style will reveal the overall shape. A healthy scalp supports the growth beneath those freshly trimmed ends; see our piece on scalp health from the inside out for foundational care tips.
Avoid Trimming Dry, Shrunken Curls
Keeping Up the Habit Between Trims
What you do between trim sessions matters just as much as the trim itself. Protective styles reduce manipulation and friction that wear down ends. Keeping hair moisturized — sealing in moisture with an oil or butter — helps ends stay pliable and less prone to breakage. Sleeping on a satin or silk pillowcase or bonnet minimizes the friction that causes frizz and split ends overnight.
If you use heat regularly as part of your routine, being intentional about it protects the work you've put into your ends. Our guide to heat styling at home covers evidence-informed practices that support hair integrity over time.
Trimming at home puts you in the driver's seat of your hair health — and with a consistent approach, you'll find that keeping length and keeping healthy ends aren't competing goals at all.
The content on this site is for informational purposes only and is not a substitute for professional advice. Always consult a qualified professional for guidance specific to your situation.