
Strength Training Without a Gym Membership

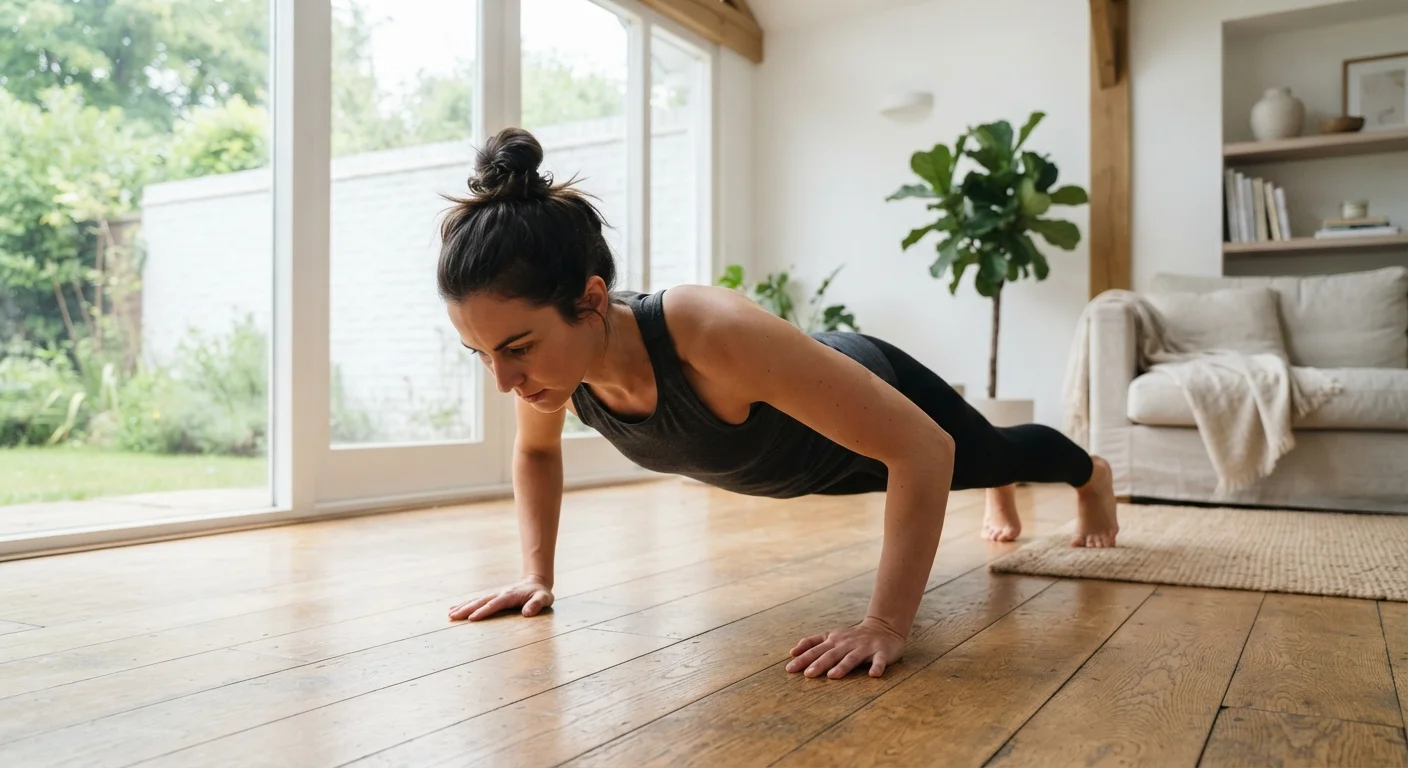
Photo: InDepthReads.com | Streamlining Learning For All editorial
Key Takeaways
- Bodyweight exercises can produce meaningful strength gains when applied with progressive overload.
- A consistent routine of 3 sessions per week is sufficient for noticeable improvement over time.
- Minimal equipment like resistance bands or a sturdy chair can expand your exercise options significantly.
- Proper form and controlled movement matter more than volume or intensity when starting out.
- Rest and recovery are as important as the training sessions themselves.
Why Gym-Free Strength Training Works
The assumption that building real strength requires a gym full of barbells and machines is one of the most persistent misconceptions in fitness. Research consistently shows that progressive overload — gradually increasing the challenge placed on your muscles — is the core driver of strength development, regardless of the tools used. Your bodyweight, applied thoughtfully, creates that stimulus.
Movements like push-ups, squats, lunges, and planks engage multiple muscle groups simultaneously and can be made progressively harder through angle, tempo, and range of motion. For most people starting a fitness routine, these fundamentals are not just adequate — they're ideal. They teach movement patterns, build joint stability, and reduce injury risk.
If you're weighing your options between home and gym environments, our article on the trade-offs of home workouts vs. going to the gym offers a balanced breakdown of both settings. And if you've hesitated to start due to doubts about what actually works, common fitness myths examined against the evidence is worth reading first.
What you will need
What You'll Need
One of the genuine advantages of home-based strength training is low startup cost. If budget is a consideration alongside your fitness goals, the same discipline that builds a workout habit applies to financial habits — see our piece on building a savings habit on a tight budget for practical strategies.
Exercise mat or folded blanket
Provides cushioning for floor-based exercises like planks and glute bridges.
Sturdy chair or low table
Used as an elevated surface for incline push-ups or step-ups.
Resistance bands
Adds variable resistance to squats, rows, and upper-body exercises without requiring heavy equipment.
Filled backpack or household items
Acts as improvised load for weighted squats or lunges once bodyweight becomes insufficient.
Your Step-by-Step Home Strength Routine
The following routine is structured around three weekly sessions with at least one rest day between each. Begin each session with 5 minutes of light movement — arm circles, leg swings, and slow bodyweight squats — to prepare your joints and raise your heart rate gradually.
Establish your baseline with a movement assessment
Before structuring your routine, perform one set each of push-ups, bodyweight squats, and a 20-second plank hold. Count how many you complete with controlled form before breaking down. Record these numbers — they become your starting point and progress markers over the following weeks.
Build your lower-body session
Perform the following exercises as straight sets with 60–90 seconds of rest between sets:
- Bodyweight squats — 3 sets of 10–15 reps. Stand feet shoulder-width apart, lower until thighs are roughly parallel to the floor, then drive through your heels to stand.
- Reverse lunges — 3 sets of 8–10 reps per leg. Step backward, lower your back knee toward the floor, and return to standing.
- Glute bridges — 3 sets of 12–15 reps. Lying on your back with knees bent, drive your hips toward the ceiling and squeeze at the top.
Build your upper-body and core session
Perform the following with 60–90 seconds rest between sets:
- Incline or standard push-ups — 3 sets of 8–12 reps. Use a chair or counter for an incline if standard push-ups are too challenging initially.
- Pike push-ups — 2 sets of 6–10 reps. Form an inverted V with your hips high, then lower your head toward the floor. This targets the shoulders.
- Plank hold — 3 sets of 20–40 seconds. Maintain a straight line from head to heels; avoid letting your hips sag or pike upward.
Add a full-body session mid-week
Combine movements from both sessions into a shorter, circuit-style workout. Perform each exercise back-to-back with minimal rest, completing the circuit 2–3 times:
- 10 bodyweight squats
- 8 push-ups (any variation)
- 10 reverse lunges (5 each leg)
- 20-second plank
- 10 glute bridges
Rest 90 seconds between full circuits. This session builds work capacity alongside strength.
Recover deliberately
Schedule at least one full rest day between each session. On rest days, light walking or gentle stretching supports recovery without adding stress to your muscles. Sleep is where muscle repair actually occurs — aim for 7–9 hours per night consistently. Nutrition matters too: consuming adequate protein (found in foods like eggs, legumes, poultry, fish, and dairy) supports muscle repair. Speak with a registered dietitian if you have specific dietary questions.
Track Progress With a Simple Log
As you grow stronger, revisit how mobility and strength training relate to understand how adding flexibility work can enhance your results and reduce soreness.
Progressing Over Time
Strength gains stall when your body adapts to a fixed routine. Apply progressive overload by adjusting one variable at a time: add one or two reps per set, slow your tempo (try a 3-second lowering phase), reduce rest intervals, or move to a harder exercise variation. Keep a simple log — even a notes app on your phone — to track sets, reps, and how each session felt.
If you're just beginning, our week-by-week framework for your first month of exercise maps out a realistic progression that prevents burnout and builds lasting habit.
Don't Skip Rest to Speed Up Results
This article provides general fitness information for educational purposes and is not a substitute for advice from a qualified healthcare or exercise professional. If you have an existing health condition, injury, or are new to physical activity after a long break, consult a healthcare provider before beginning a new exercise program.
The content on this site is for informational purposes only and is not a substitute for professional advice. Always consult a qualified professional for guidance specific to your situation.